Band presets
The quickest way to get a song sounding how you want it – or at least to get somewhere in the ballpark – is to use a band preset. Strum Machine comes with a selection of built-in presets, representing various common genres and playing styles.
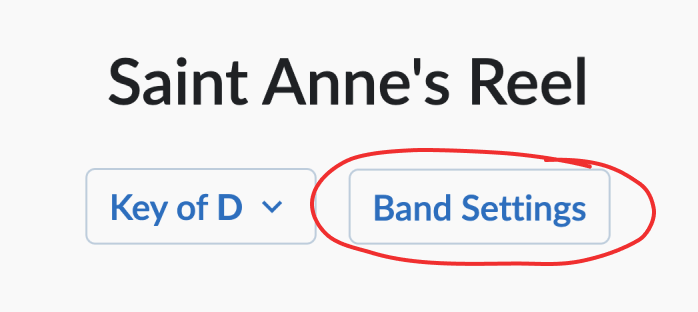
First, open the Band Settings menu for a song, which you’ll find under the song title:
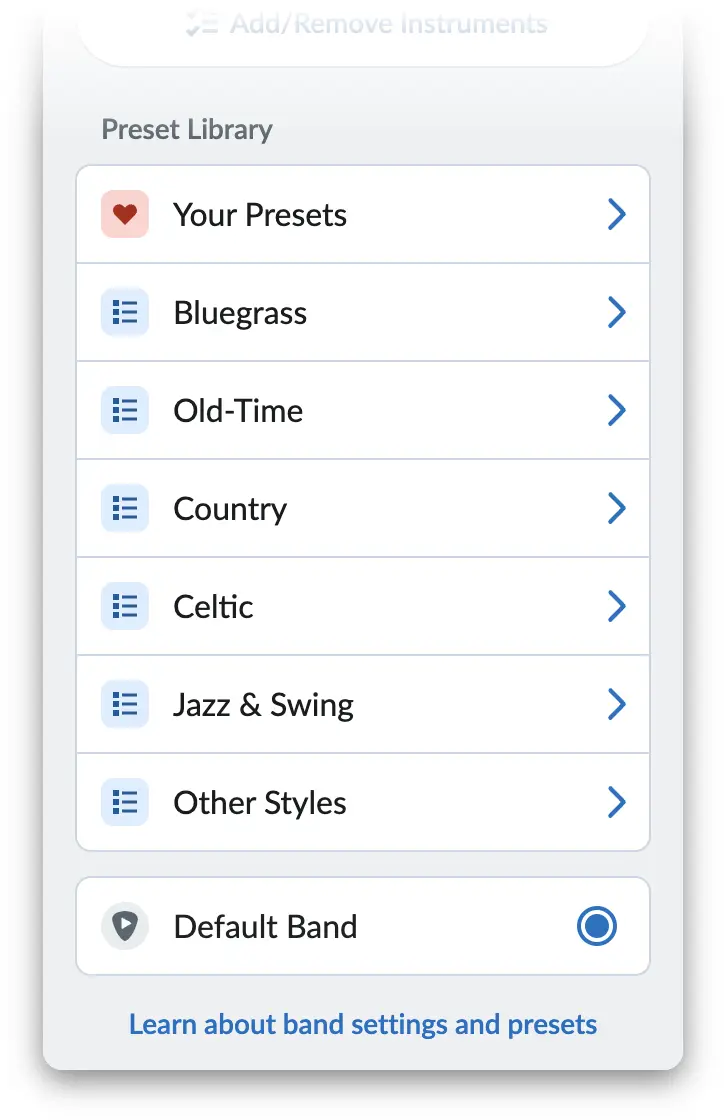
The Preset Library takes up the lower part of this menu. It’s broken up into several categories/genres:
Click into a category to view the presets available in that category. Use the “Play” button in the top right corner to start playback, then click on each preset to see how they sound:

Note that the differences between presets can seem subtle with certain songs, especially at faster tempos. So if you can’t hear how two presets differ, don’t sweat it! You can always use the written descriptions to help decide which preset to use.
Once you’ve chosen a preset, your preferenced is saved immediately. Strum Machine will remember to use this preset every time you open that song.
Customizing the band further
After choosing a preset, you can customize the band further by going back to the main band settings menu (click “Back” in the top-left corner) then clicking on an instrument to edit settings directly.
Editing band settings does not update the preset. Instead, Strum Machine switches to using a “Custom Band” for the current song. In other words, your customizations will affect the current song only, so you needn’t worry about messing up existing presets by accident.
Making your own presets
You can also save your own presets to make your favorite band settings easily accessible from any song.